Hi everyone! Although it’s several days after the fact, I have my mani for St. Patrick’s Day on the blog! While I am in no way Irish, it’s always a good chance to wear green (my favorite color!) and put on some green nail polish. Plus, I had such a good idea for St. Patrick’s Day nail art that I really wanted to do it. My idea didn’t turn out quite as well as I hoped, but it was still pretty great. Since I did this manicure with the #fourleafjulep Instagram contest in mind (so many Julep contests!), I used all Julep colors for this manicure. Read on!
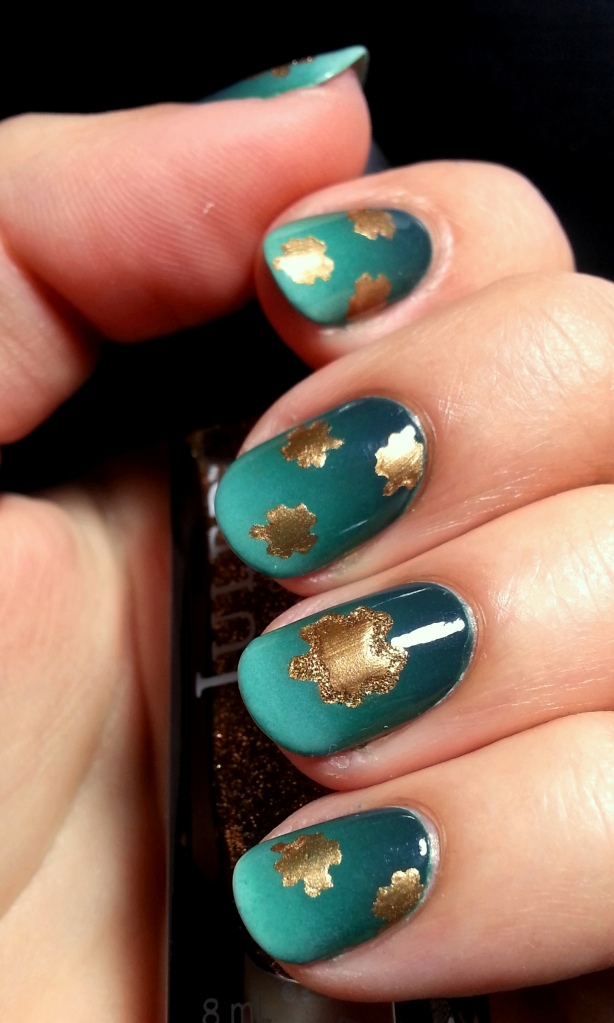
As you can probably tell, my idea was to put gold shamrocks on top of a green green gradient, in this case using stencils to make the shamrocks. The real driver of this design was a hole punch I found at Daiso that is capable of cutting out different sizes of shamrocks – just about the most convenient thing ever for a St. Patrick’s Day manicure. I ended up using the small shamrocks for all my nails except my ring finger, and using the large shamrocks on my thumb and ring finger for a subtle accent nail.
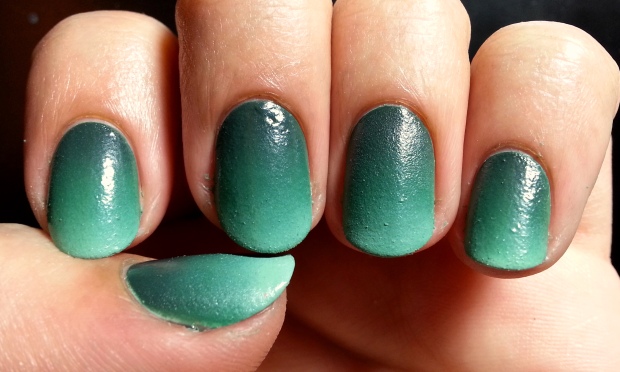
To begin, I made a gradient with Julep Kam, Emilie, and Roc Solid. I painted my nails with the lightest color – Kam, see a better look at the color here – and then used a sponge to make the gradient with all three colors, with the darkest color at my cuticles. This is what it looked like with no topcoat:
I was in a bit of a time crunch here, and needed the polish to dry in order to do the stenciling, so I didn’t put on topcoat before doing the stencils in order to save some time.
With the hole punch, the stencils were really easy to make and painless to use. This is why I use this technique so much, haha. I used the exact same method as I did for my Fourth of July manicure a while ago, so if you want more details, I’ll link it here as a reference. Anyways, to make stencils like this, I start by using a hole punch to punch the holes into a piece of sticker paper, which can be found at office supply stores. I then cut around the punched out holes in the sticker paper to get individual stencils. Once all the individual stencils are cut out, I remove the backing of the sticker paper and stick them on my nails where I want them (make sure your nails are 100% dry!!!). Then, I simply brush over the stencil with the color I want (Julep Mahima in this case – no joke, it’s my go-to gold metallic polish), wait around 5 seconds, and carefully peel off the stencil to reveal the shape. Usually, this technique works really well to get clean shapes without going through the hassle of freehanding.
Finally, on the large shamrocks, I added a bit of Julep Andrea around the edges using a small brush to add just a hint of glitter. And done!
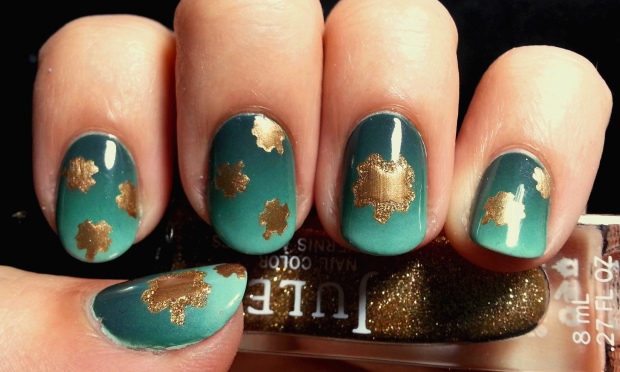
The gradient turned out perfectly! It was so smooth, and I really like how the three shades of green look together as a gradient. The shamrocks, though, didn’t turn out quite as well as I’d hoped for. The smaller shamrocks look kind of blobby since it’s hard to tell where the leaves divide up, and the large shamrocks look a little un-shamrock-y with the glitter around the edges. Ah well, this looked pretty good as a whole, and it was quite fun to wear.
I hope you’ve liked my post! Thanks for reading!
– Emi
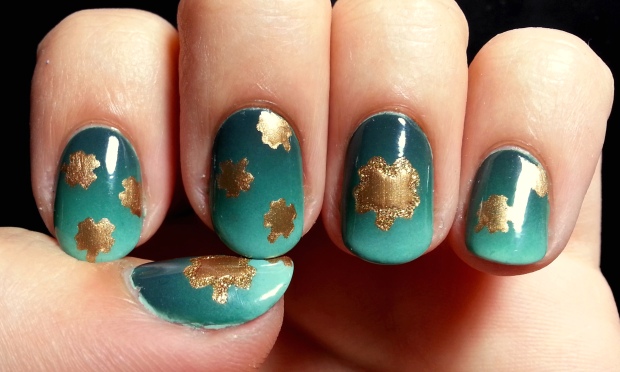
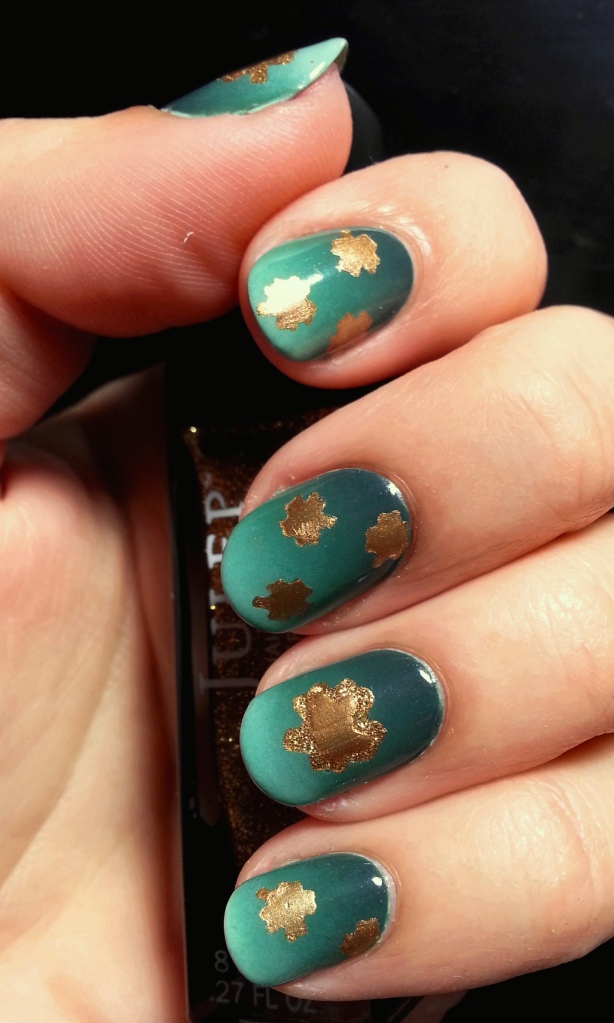
The gradient is gorgeous! And the gold may not be entirely shamrock-y, but it reminds me of fall leaves. 🙂 An idea for the fall, perhaps?
LikeLike
Thanks! Actually, a while ago, I did use this technique to make fall leaves (before the blog, but there’s a pic in the gallery). It’s definitely worth a repeat, though!
LikeLike